Monday, September 2, 2013

My Bill Binder ( how I stay on top of our finances)


I have a few binders that I use regularly. My Family Binder, My Kitchen Binder, My Farm and Garden Binder and my Bill Binder. I will make posts about all of these binders and how I make/use them in later posts. I want to start with my Bill Binder first.
My Bill Binder has been so helpful in creating and sticking to a budget. It is where my bills go as soon as they come in the mail and it's where I go on pay day when I am paying my bills. I know what is due and to who. I can make little notes like so and so's birthday is this month, or field trip on this date and what the cost is so I can remember to budget it in. All my expenses are written in there.
My go to place for organizational printables has always been Donna Young. She has amazing printables for homeschooling to.

Now lets build our Bill Binder.
First you will need a three ring binder. I like the ones with the clear plastic cover on the front so I can slide in a pretty print and label it my bill binder but any three ring binder will work. Some people like to cutsey theirs up, some like to keep it simple. It's up to you. I find it easier to do one of my least favorite chores if I can do it while looking a prettiness so I use washi tape and colored pens to decorate and write in my binder.
Next I add 2 folders with pockets. One is for paid bills and one is for bills that need to be paid. If I pay a bill online I can write the confirmation number on the bill and add it to the paid bill folder. Having my previous months bills available also lets me compare what we are spending month by month.
I also like to add a pencil pocket. I always write in my Bill Binder in pencil because I sometimes have to change when I will pay a bill or amounts. I also like to keep a highlighter in there, when a bill clears my bank I highlight it. This makes it easier to balance my account.
And finally I print out one page like the example below for each month of the year. (12 pages total) Just click the link below.
Donna Young month at a glance 
 (Update: these are no longer free on her site. She now requires a membership but you can find others like it for free just Google bill planner free printables)
I hole punch it and it goes into the binder as well. 
Now when I receive a bill it goes into the To Be Paid folder and I write it on the page for the month that it is due. 
Here is a sample of a page in my binder. 
Remember these are Donna Young's Printables.......Not mine. I have been using them for years and they are EXTREMELY helpful.


Friday, June 14, 2013

Composting, Waste not want not


If you are like me then it kills you when something gets thrown away. I am always thinking about how I can reuse something or how to keep things from going in the trash. Left overs go to the chickens or the pigs, glass containers are washed and reused for storing seeds, lard, goats milk, or drinking out of.  But my biggest joy is when I can compost something. You put things in the compost that would otherwise go into the trash and ultimately a land fill and in return you get the best darn soil in the neighborhood. Compost is the ultimate in recycling, in my humble opinion. It doesn't have to be complicated. Your compost pile can be a simple whole in the ground, a plastic trash can with holes drilled in it, I've seen people build them out of old pallets and even buy expensive rotating barrel composters.
If you talk to any experienced gardener and ask them what their secret is 9 times out of 10 they will say "Compost". 
Compost piles are great when you have to clean out the chicken coop, goat houses, and  the rabbit hutches. My Chickens love my compost pile and I love them to be in it. The stir it up and add there own Organic matter while they are there.
  Everyone knows that you can compost kitchen scraps and newspaper, tea bags and garden clipping. Buy did you know you can compost the hair from your brush. I found this list from plantea of things that you can compost.

Paper napkins
Freezer-burned vegetables
Burlap coffee bags
Pet hair
Potash rock
Post-it notes
Freezer-burned fruit
Wood chips
Bee droppings
Lint from behind refrigerator
Hay
Popcorn (unpopped, 'Old Maids,' too)
Freezer-burned fish
Old spices
Pine needles
Leaves
Matches (paper or wood)
Seaweed and kelp
Hops
Chicken manure
Leather dust
Old, dried up and faded herbs
Bird cage cleanings
Paper towels
Brewery wastes
Grass clippings
Hoof and horn meal
Molasses residue
Potato peelings
Unpaid bills
Gin trash (wastes from cotton plants)
Weeds
Rabbit manure
Hair clippings from the barber
Stale bread
Coffee grounds
Wood ashes
Sawdust
Tea bags and grounds
Shredded newspapers
Egg shells
Cow manure
Alfalfa
Winter rye
Grapefruit rinds
Pea vines
Houseplant trimmings
Old pasta
Grape wastes
Garden soil
Powdered/ground phosphate rock
Corncobs (takes a long time to decompose)
Jell-o (gelatin)
Blood meal
Winery wastes
Spanish moss
Limestone
Fish meal
Aquarium plants
Beet wastes
Sunday comics
Harbor mud
Felt waste
Wheat straw
Peat moss
Kleenex tissues
Milk (in small amounts)
Soy milk
Tree bark
Starfish (dead ones!)
Melted ice cream
Flower petals
Pumpkin seeds
Q-tips (cotton swabs: cardboard, not plastic sticks)
Expired flower arrangements
Elmer's glue
BBQ'd fish skin
Bone meal
Citrus wastes
Stale potato chips
Rhubarb stems
Old leather gardening gloves
Tobacco wastes
Bird guano
Hog manure
Dried jellyfish
Wheat bran
Guinea pig cage cleanings
Nut shells
Cattail reeds
Clover
Granite dust
Moldy cheese
Greensand
Straw
Shredded cardboard
Dolomite lime
Cover crops
Quail eggs (OK, I needed a 'Q' word)

Rapeseed meal
Bat guano
Fish scraps
Tea bags (black and herbal)
Apple cores
Electric razor trimmings
Kitchen wastes
Outdated yogurt
Toenail clippings
Shrimp shells
Crab shells
Lobster shells
Pie crust
Leather wallets
Onion skins
Bagasse (sugar cane residue)
Watermelon rinds
Date pits
Goat manure
Olive pits
Peanut shells
Burned oatmeal (sorry, Mom)
Lint from clothes dryer
Bread crusts
Cooked rice
River mud
Tofu (it's only soybeans, man!)
Wine gone bad (what a waste!)
Banana peels
Fingernail and toenail clippings
Chocolate cookies
Wooden toothpicks
Moss from last year's hanging baskets
Stale breakfast cereal
Pickles
'Dust bunnies' from under the bed
Pencil shavings
Wool socks
Artichoke leaves
Leather watch bands
Fruit salad
Tossed salad (now THERE's tossing it!)
Brown paper bags
Soggy Cheerios
Theater tickets
Lees from making wine
Burned toast
Feathers
Animal fur
Horse manure
Vacuum cleaner bag contents
Coconut hull fiber
Old or outdated seeds
Macaroni and cheese
Liquid from canned vegetables
Liquid from canned fruit
Old beer
Wedding bouquets
Greeting card envelopes
Snow
Dead bees and flies
Horse hair
Peanut butter sandwiches
Dirt from soles of shoes, boots
Fish bones
Ivory soap scraps
Spoiled canned fruits and vegetables
Produce trimmings from grocery store
Cardboard cereal boxes (shredded)
Grocery receipts
Urine
Are you surprised by all the things you can compost? I was!
This list makes me happy!  Although I don't think I will be composting urine any time soon.
The only thing you really need to remember is to alternate between kitchen scrapes and yard scrapes, basically you want a good mix of wet and dry matter. Your compost pile should be on the ground, not on a pallet or cement, you need the critters in the soil to help make your compost. Every once in awhile go out and turn your pile. Stick your shovel in and turn it around get some air into and keep it moist. Compost piles are forgiving though. You can pile a bunch of stuff up and forget about it...it will still break down into compost sooner or later.

Wednesday, June 12, 2013

Preparing for storms/ Emergency preparedness

Monsoon season is coming to the Sonoran Desert and it's time to go through our supplies and make sure everything is in order. Every location has it's storms and natural disasters and it is in your families best interest to be prepared.  www.nationalterroralert.com recommends that everyone have a 72hr. kit. I am not so sure that a 72hr. kit is enough preparation but it is a place to start.


Lets start with water. Water is probably the most important thing to have stored for emergencies. The human body can only survive 3 days without water, but you will start suffering the effects of dehydration much sooner than that. It is recommended that you store 1 to 2 gallons of water per person per day. That is a lot of water and it can get expensive. I have a large family so I have been collecting food grade buckets from my local Big chain grocery store that starts with a W. They throw them away and if you ask the bakery manager more than likely they will give you all you want. These buckets have rubber rings that seal them...this is important. I fill these buckets with water and add 5-7 drops of bleach per gallon. You can also save the 2 liter soda bottles and wash them well with soapy water and fill the same way using bleach as described above. Alternatively there are many water purification tablets and drops on the market.


Something else to have on hand is the Water bob bathtub storage insert. If you know that a big storm is coming or that your water supply might possibly be at risk you can put this in your tub and fill it with water. It hold 100 gallons.


Lets talk about what happens when the water supply is cut off for whatever reason. What happens to your toilet and your human waste? Well, if the water system goes down so does the sewage system and if your neighbors are still  trying to use their toilets that waste can come up into you home. The first thing you should do if the water system goes down is to shove a rubber ball deep into the flush hole of your toilet. This will keep the sewage from coming back into your house and exposing your family to disease and costing you hundreds if not thousands of dollars in repairs.
If your toilet isn't working then where do you do your business. I suggest you create a sanitation kit. Your sanitation kit should consist of a 5 gallon bucket with a Toilet seat that fits on it securely. Like this one from Reliance.

Make sure you include in your sanitation kit some large black trash bags, cat liter to sprinkle on top after each use, a few rolls of toilet paper, some hand sanitizer, dish soap, paper towels, sanitary napkins, baby wipes, and disinfectant spray. Also basic hygiene items like bar soap, shampoo, dish soap, laundry detergent, and cleaning supplies. It helps to have some large Rubbermaid type containers for washing small children in, doing dishes and general washing up.When your "toilet" is full you can tie up the trash bag and put it in a hole dug in your back yard. When everything has been restored to normal you can properly dispose of your waste. You can also purchase a premade sanitation kit like this one.

Now let's talk about loss of electricity. We loose power here during Monsoon season fairly regularly. The kids actually look forward to our little power outages because we pull out the candles and tell stories. But what about when power is out for long periods of time, like days, what then. First of all and this one is fairly obvious have candles, flash lights, and batteries on hand. Even better than candles have some oil lamps and extra oil on hand. Don't waste your battery run flash lights on indoor home use, save those for when you have to move around outdoors and night.


You might also want to have a camp type stove for cooking.


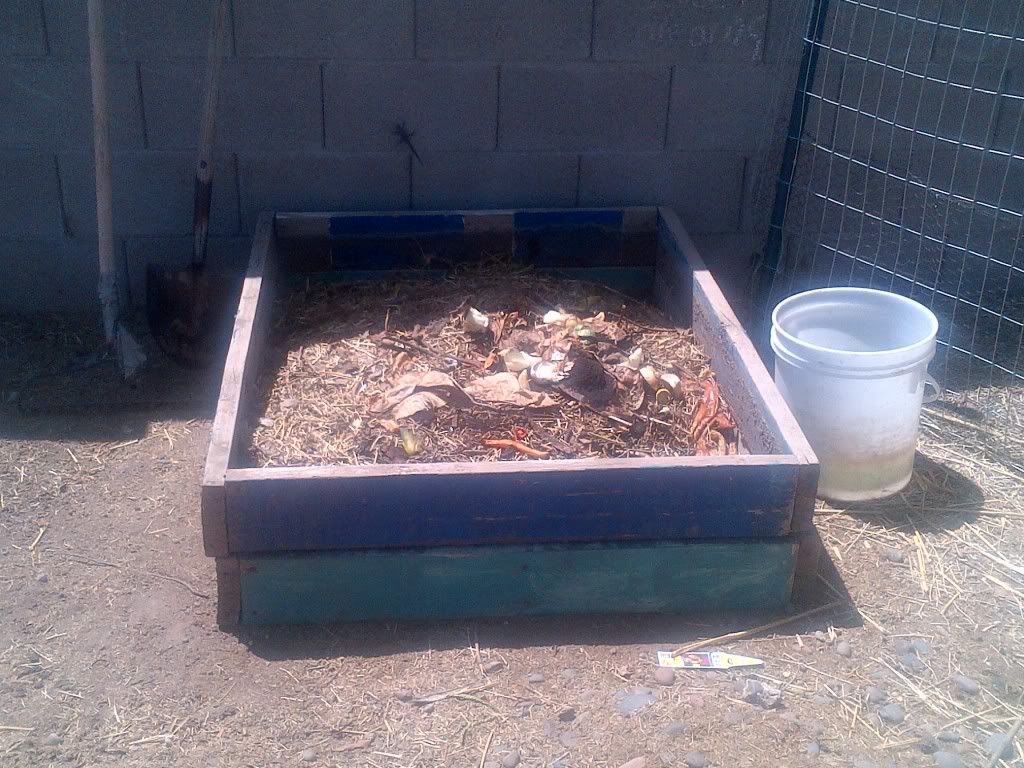
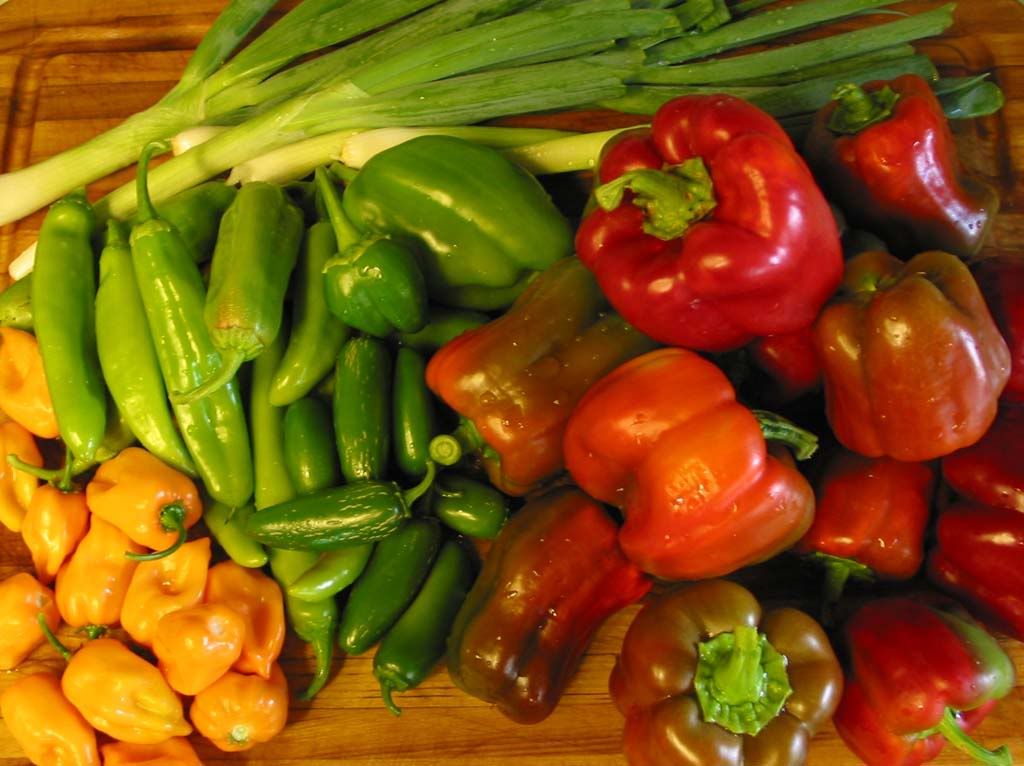
 And that brings us to food. First of all if you lose power DO NOT OPEN YOUR FREEZE AND FRIDGE unless absolutely necessary. Keep that cold air in. I would hate to loose my pork from this years pig or all the chicken and frozen veggies. If the power is going to be out for an extended period of time hopefully you are lucky enough to have a generator. I do not have one so we would start eating the food the is in the fridge first, then the freezer and finally start with the canned and dry goods.   If you have an extended pantry that you are working on like I do, then you have canned goods and dry goods stored. But how much do you store and of what. The Church of latter-day saints has a food storage calculator that can help you work on building your food storage. They believe in storing a years worth of food, you can use it to calculate your families needs.  Food storage calculator
 What do you store food in? Those food grade storage buckets for the big W chain come in handy here too. You can also buy 5 gallon buckets with sealing twist on lids and Mylar bags. And don't forget to have a can opener on handy.


Or you can buy 1 month's worth of food already packaged and ready to go like these. Remember you will need one for each member of your family.


Don't let food storage overwhelm you. Start with a 72 hr. kit in mind and expand from there as you see necessary. Add as you go and do research about proper storage.

A First aid kit is also an important thing to have on hand.
Include in your kit things like bandages in different sizes, absorbent compress dressings, adhesive bandages, adhesive cloth tape, antibiotic ointment, peroxide, alcohol, aspirin, Children's pain reliever, Ibuprofen, blanket , breathing barrier (with one-way valve),  instant cold compresses, non latex gloves,  hydrocortisone ointment, Scissors ACE bandages,  sterile gauze pads,  Oral  thermometer, Tweezers and a copy of a book like this one


Also include any medications your family may need for pre existing conditions such as asthma inhalers, heart medication, insulin. allergy meds.etc.  and emergency phone numbers or other items your health-care provider may suggest.
You can also purchase a pre-made first aid kit.


If you have read this far and think that emergency preparedness is for paranoid people and that your local city, state or your country will bail you out, if you think it won't happen or you will have time to gather what you need when the situation arises. THINK AGAIN. Last year a power converter blew out all the power in my neighborhood. There was an explosion and then the power was completely out for blocks and blocks (city blocks). The streets were almost immediately packed with cars headed for the local Walmart to buy candles. I have a friend who works there and he told me that they were sold out in minutes, the lines were long and people were angry. This was for candles, not water, not food, CANDLES.
Ask anyone in the states that have recently been effected by tornado's and hurricanes how long they were with out there basic needs. How long before the local city,county or start officials came to help. I am not suggesting that you prepare for the apocalypse; I am suggesting that you prepare for emergency situations so that your family is cared for and their basic needs are met. Even the US government suggests every household have an emergency kit and instructions on how to create one. You can find their suggestions here. 


Follow my blog with Bloglovin
Linked up at
Summers Acres: The HomeAcre HopHappy Kids, Inc

Tuesday, June 11, 2013

Chicken bullion cubes


I make a lot of food that calls for chicken bullion or chicken broth. I used to buy the powdered kind from the store but in my quest to become more self sufficient, save money, and make healthier foods I now make my own. It's a very simple process. I make a large batch because I use the shredded chicken in other recipes and like the convenience of having the shredded chicken on hand. Feel free to reduce it to meet your family's needs. I have been known to make 8 chickens at a time in my big canner. So adjust as you see fit.

Ingredients

4 whole chickens
5 large carrots  cut in half
2 onions cut in half
1 head of garlic cut in half
1 head of celery cut in half
3 or 4 Bay leaves
1 tbs. pepper
1 tbs. cumin
1 tbs. parsley
1 1/3 tbs. oregano
2 tbs. salt


Place all the vegetables and spices on the bottom of a large pot.

 Clean chickens and place them in a large pot. Fill it with water and put to boil. Boil for about 3 hrs. or until chickens are fully cooked and the meat easily comes off of the bone. Turn off the heat and let the chickens cool.

When cool shred  the chicken and place into a separate bowl (freeze and use in a meal of your choice). Strain all the remaining solids off from the liquids. Reserve the liquid (this is going to be your broth) and put it in the fridge over night. In the morning skim any fats that have become solid on the top of the pot and then put your broth to boil again, if your broth is gelatin like, that is great you want that. The gelatin is from the bones boiling and breaking down of the collagen, It's good for you. When it has reduces to about 1/3 of what it was to begin with turn it off and let it cool. Pour into ice trays and freeze. When the broth cubes are frozen, Pop them out and put them into a zip lock bag. When a recipe calls for broth....use your homemade bullion cubes.


Recipe idea's for the shredded chicken,

Chicken salad
Chicken Enchiladas
Chicken noodle soup
Chicken taco's
Chicken pot pie
Taquitos


This and more frugal blogs can be found on
frugallysustainable.com


Monday, June 10, 2013

Simple Chicken Salad


I regularly boil chickens to make my chicken broth and that leaves me with yummy well seasoned shredded chicken in my freezer for quick meals. One of my husbands favorite lunches is chicken salad sandwiches. I make it a lot more often now that we no longer eat processed meats.

Here is how I make it,

In a large bowl I put
1/2 medium onion diced
3 c. shredded, cooked chicken
3 c. shredded lettuce
1 c. shredded mild cheddar cheese
1 large tomato diced
1 c. mayonnaise
1 tbs. mustard (optional)
salt and pepper to taste

Give it all a good stir and serve on your favorite bread.

Old Fashioned Biscuits, Like Grandma used to make.


Most all of our breakfasts include biscuits, I usually set them on the table with some home made jam and real butter or some sausage gravy. They are quick, easy, and make your family feel cared for.


Here's how easy it is:
Turn you oven on to 350 degrees. Take to cast iron skillets and put 1 tbs. of butter in each one.
Put them in the oven and let the butter melt.
In the mean time here is your ingredient list.

4 c. All purpose four
2 tsp. salt
1 tbs. sugar
2 tbs. baking powder
1/4 Lard or Butter (not margarine) really cold, mine if frozen, cut into pieces
1 3/4 c. milk

In a large bowl put everything but the milk and mix with a pastry blender or 2 knives. Then with a fork start adding the milk. the trick here is that you don't want to over mix the dough. Mix it until it just starts coming together. Put it on a lightly floured counter and roll it out to 1/2 inch in thickness. Cut with a biscuit cutter or if your like me the ring of a canning jar. Pull your cast iron pans out of the oven and put the biscuits in. bake for 20 min. or until golden brown.

Sunday, June 9, 2013

Produce Wash

Ideally I would buy only organic foods, but lets face it, sometimes its just a matter of keeping food in the cupboards and non-organic fruits and veggies are better than no fruits and veggies. Hopefully soon the garden will be big enough that we can depend on it for most of our vegetable and fruit needs, until then I try to wash as much gunk of our produce as possible (even organic produce needs a good washing).  Being the cheap..uh frugal person I am, I would never buy produce wash in the store. So here is my recipe for produce wash.
  1. Put the plug in you clean sink and fill about 1/4 full with water.
  2. Add 3/4 cups baking soda
  3. Add 1/2 cup vinegar
  4. Add produce
  5. Add more water as needed to cover produce 
  6. Swish around and let soak for a few minutes.
  7. Rinse 

Saturday, June 8, 2013

Free Kindle reading app. for your computer


If you want to take advantage of all the free kindle books you see posted but don't have a kindle reader? Follow this link to a free kindle reader app. for your computer. Kindler Reader App.  After downloading it come on back and take advantage of these books to start your Kindle Library. These books are Under $5.00 and some are FREE!


Mesquite trees

 Living in the desert shade is important, especially if you are a gardener. Having some shade around your garden helps the plants survive the brutal summer heat, it gives my chickens and goats places to get out of the sun and it makes my yard have that lusher look I want. So when its time to plant trees here I was looking for something that was native, drought tolerant and that would grow quickly. I chose the Mesquite tree.
They are called  "the life tree" because it is said that life would not have been able to exist here without this precious tree. When the pods dry they are ground into a flour ( a flour that is gluten free and helps control blood sugar levels) .  Here is another use I found on http://www.texasbeyondhistory.net/st-plains/nature/images/mesquite.html "The nitrogen-fixing attributes of mesquite may have been recognized by the Pima Indians, who purposely left mesquite trees in the middle of fields as well as leaving them on fence rows, not only because the pods were a good food resource, but also because the falling leaves returned much-needed nitrogen to the soil (Rea 1979)." Desert Harvesters offers grinding events every fall, where they will grind your pods into flour for you. I have a  Mesquite in my yard already, they sprout up every where and are hard to kill. I now see that as a plus. Mesquite pods are ripe right before Monsoon. During Monsoon season little Mesquite trees will pop up all around the base of the mature trees where they can carefully be moved around the yard adding the the mesquite "forest" I am trying to create. Once a mesquite tree is established it really doesn't require any watering from me and grows into a beautiful green, food producing addition to our homestead. 
Another awesome thing about mesquite pods is that goats can have them as a snack and so can the kids, My kids even enjoy chewing on the pods while playing outside. I have heard that people make Mesquite Jelly...hmmm that sounds like it's right up my alley.

Friday, June 7, 2013

Mock Carl's Jr. Bacon Western Cheese burger recipe


We have not been eating fast foods or processed food  for awhile now,  So when that urge for a fat juicy burger hits I need a way to meet that craving in a homemade healthier way.  So I did my best to recreate my husbands favorite fast food burger.

For a really juicy burger don't over cook it. Use very cold ground beef with an 80/20 fat ratio. Form your burgers and put them back in the fridge to get them really cold again. Cook your burgers in a cast iron grill indoors or out on the grill outdoors. Get your grill hot and cook until you reach your desired doneness. Add salt and pepper just before your burgers are done so that the salt doesn't draw the moister out of the meat during cooking. Don't over season your burger we want to taste the burger. 

On to the recipe

  • 2 onion rings per burger (homemade onion ring recipe) or frozen
  • 1/4 pd. ground beef per burger
  • 3 slices of bacon  (try and buy nitrate free bacon or use local farm raised bacon)
  •  1 slice American cheese 
  • 1 sesame seed hamburger bun (homemade hamburger bun recipe)
  • your favorite hickory smoke flavored  B-B-Q sauce (Homemade B-B-Q sauce recipe)

Make your onion ring and buns in advance or put your pre-made onion rings in the oven according to package directions. Form and grill your burgers following the tips above. Add a spoon full of B-B-Q sauce on your bottom bun and place finished burger on top. Place you slice of cheese on burger and top with bacon and onion rings. Add another spoon full of B-B-Q sauce and place the top bun on the top. Enjoy  

Foodie Friends Friday

PMS CAKE..... NUFF SAID


Here is is, the cure for P.M.S. Share it with your girlfriends.
Find your comfiest P.J's, slide your feet into some furry slippers and fluff up your pillows on the couch or your bed. Grab the remote or a good book and send everyone, somewhere else. Plug in your heating pad, you know where to put it. Pour yourself a glass of your favorite beverage and a slice if this peanut chocolaty cake. OH P.M.S. can be WONDERFUL!!!!


Ingredients

1/2 c. creamy peanut better ( I used an all natural peanut butter)
1 c. water
1 stick butter (not margarine)
1 c. sugar
1 c. brown sugar
1 tsp. salt
1 tsp. baking soda
2 eggs
1/2 cup milk
1 tsp. vanilla extract
1 tsp. almond extract (optional)

Frosting 

1 1/2 stick butter (not margarine)
10 tbs.  milk
1/c c. creamy peanut butter
3 1/2 c. powdered sugar
1/2 c. cocoa powder
1 tbs. vanilla extract
1/2 halved peanuts (optional)


Directions

Preheat oven to 375 degrees F. and spray a 9 by 13 inch pan with cooking spray. In a medium saucepan combine peanut butter, water, and butter. Heat over medium heat until melted. In a large bowl stir together dry ingredients  and set aside. When the peanut butter mixture is melted but not hot add the milk, eggs and extracts (I recommend you do it in that order, the milk will help cool the peanut butter so you don't cook the eggs). Add the wet ingredients to the dry ingredients and mix until well incorporated. Pour into pan and bake for 20-30 min. or until an inserted  toothpick comes out clean.

While your cake is baking start your frosting. In a small saucepan melt the butter, the peanut butter and the milk. take the pan off the heat and add the vanilla. With a mixer on medium start adding the cocoa powder and the powdered sugar. It should be smooth and somewhat runny. When the cake is done and still warm pour the frosting over the cake and sprinkle with the peanuts. This cake is best eaten warm...but it's good at any temp.